
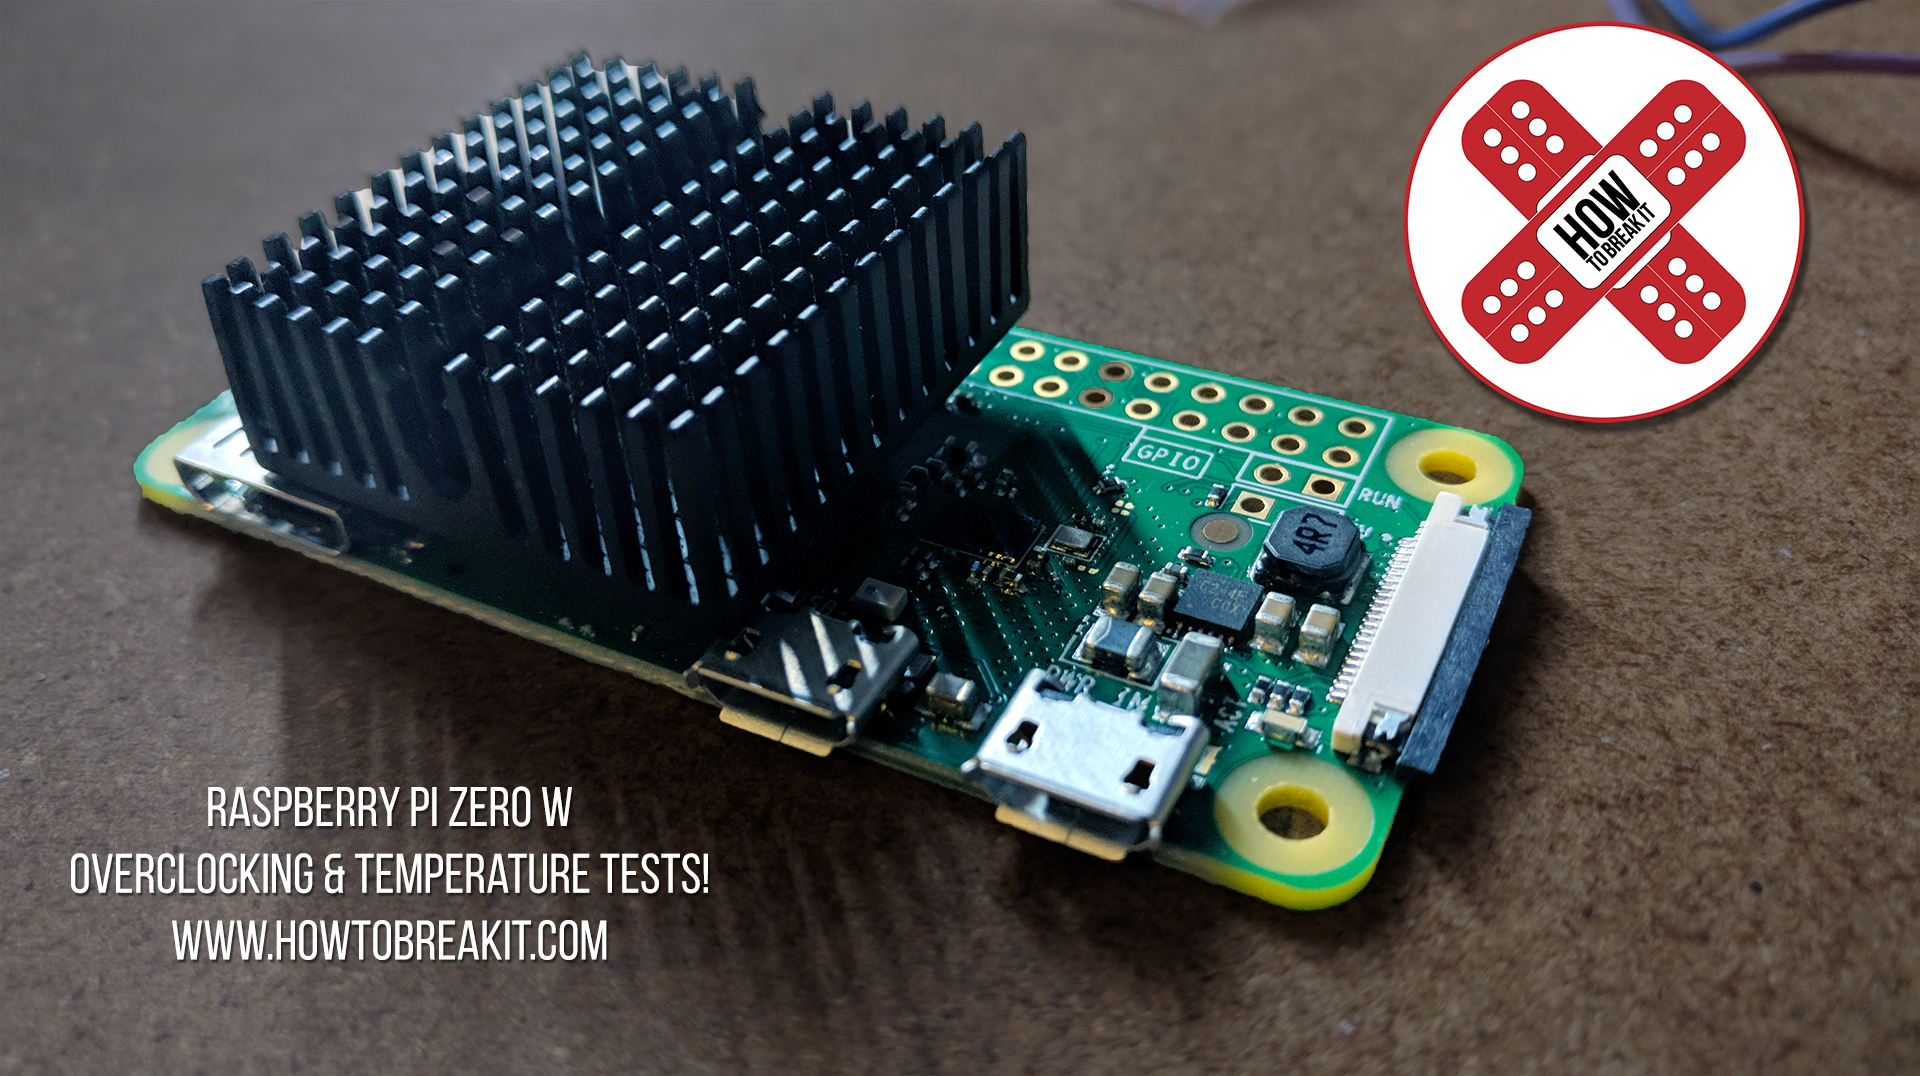
I want a 10% overclock and keep my Pi Zero W cool.
The plan
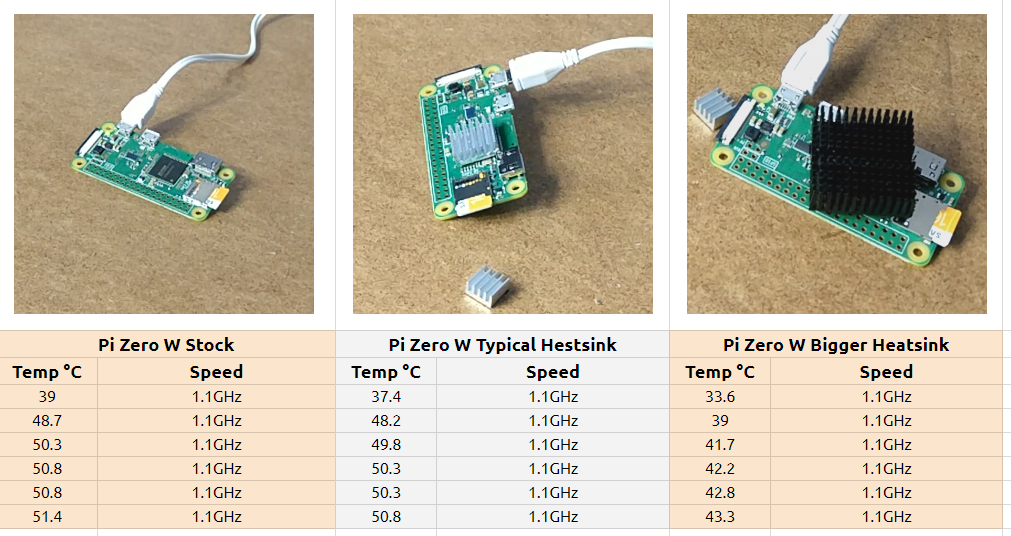
- Generate a baseline for temps and cpu speed without heatsink
- Generate temps and cpu speed with typical heatsink
- Generate temps and cpu speed with bigger heatsink
The tools
- 15mm x 15mm x 2mm copper shims
- thermal pads
- typical raspberry pi heatsink
- random other heatsink I found in a box
The Video
Overclock Settings
Once you’ve installed Raspbian to your SD Card, you want to open your Boot partition and find the file config.txt. At the bottom of this file we want to add the lines
arm_freq=1100
over_voltage=8
sdram_freq=500
sdram_over_voltage=2
force_turbo=1
boot_delay=1
| arm_freq=1100 | The value here corresponds to how many MHz the CPU will be clocked at. |
| over_voltage=8 | Beginning with 1, each step increases the voltage supplied to the CPU by .25V. So a value of 8 results in supplying 1.4V to the CPU instead of 1.2V |
| sdram_freq=500 | The value here corresponds to how many MHz the RAM will be clocked at. |
| sdram_over_voltage=2 | Beginning with 1, each step increases the voltage supplied to the RAM by .25V. |
| force_turbo=1 | When set to 1 the Pi will run at its max frequency of 1GHz, unless overclocked then it will run at the value found in arm_freq= |
| boot_delay=1 | The value here will delay the kernel loading by 1 second, 2 seconds requires a value of 2. |
Making the script
Now we have to use our terminal. The commands we want to test are below
This one measures your CPU Temperature
vcgencmd measure_temp
And this one spits out your CPU Speed in Hz (divide by 1000 to get MHz)
sudo cat /sys/devices/system/cpu/cpu0/cpufreq/scaling_cur_freq
For the stress test I’m going to use SysBench. The test we’re running is
sysbench -test=cpu -cpu-max-prime=10000 -num-threads=1 run >/dev/null 2>&1
What this does is runs a test on the CPU which calculates all the prime numbers between 0 and 10000. This will max out our CPU in a way we normally wouldn’t under normal conditions.
Download link for the testing script: rPiZeroWTempTests
Or you can just copy and paste the script from here. Open your preferred text editor, paste the contents, give it a name and make sure to name it with the extension .sh
#!/bin/bash
vcgencmd measure_temp
sudo cat /sys/devices/system/cpu/cpu0/cpufreq/cpuinfo_cur_freq
sysbench -test=cpu -cpu-max-prime=10000 -num-threads=1 run >/dev/null 2>&1
vcgencmd measure_temp
sudo cat /sys/devices/system/cpu/cpu0/cpufreq/cpuinfo_cur_freq
sysbench -test=cpu -cpu-max-prime=10000 -num-threads=1 run >/dev/null 2>&1
vcgencmd measure_temp
sudo cat /sys/devices/system/cpu/cpu0/cpufreq/cpuinfo_cur_freq
sysbench -test=cpu -cpu-max-prime=10000 -num-threads=1 run >/dev/null 2>&1
vcgencmd measure_temp
sudo cat /sys/devices/system/cpu/cpu0/cpufreq/cpuinfo_cur_freq
sysbench -test=cpu -cpu-max-prime=10000 -num-threads=1 run >/dev/null 2>&1
vcgencmd measure_temp
sudo cat /sys/devices/system/cpu/cpu0/cpufreq/cpuinfo_cur_freq
sysbench -test=cpu -cpu-max-prime=10000 -num-threads=1 run >/dev/null 2>&1
vcgencmd measure_temp
sudo cat /sys/devices/system/cpu/cpu0/cpufreq/cpuinfo_cur_freq
You will have to also modify the properties of the script to allow it to be executable. To do this we use (assuming you named it test.sh)
sudo chmod +x test.sh
And finally we run the test by typing in the command
sudo ./test.sh
The Results
Now go have some fun! Good luck breakers!
![Read more about the article [Video] – Backup & restore your Raspberry Pi SD card with Linux](../wp-content/uploads/2018/07/videoHeader.jpg)