
Welcome to Part 2 of the Cloudshell videos, in this part we configure the software required to get this bad boy ready to accept and serve files. There are a couple of routes we can go for software, basic Linux (Ubuntu) or OMV (Open Media Vault) and of course I chose to set this up using Ubuntu.
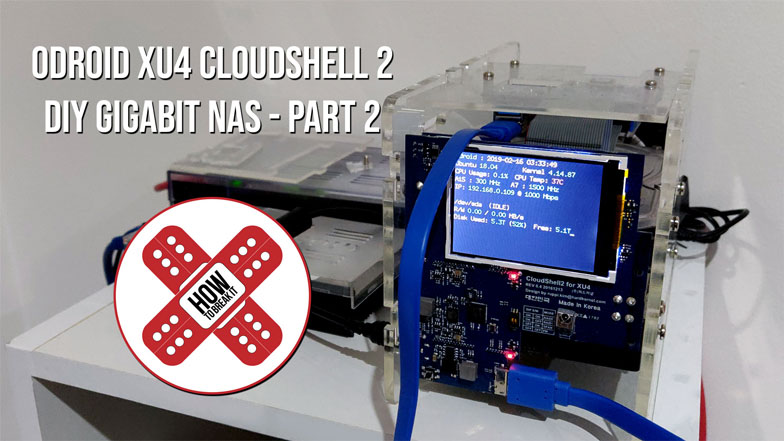
The idea is to have a 12TB NAS Server using 2x6TB Hard Drives, and since the ODroid XU4 is the brains of the operation, we should be able to achieve gigabit speed or about 110MB/s.
For this I have compiled a set of instructions that I cover in the video,and they are below.
Instructions taken from
https://wiki.odroid.com/accessory/add-on_boards/xu4_cloudshell2/software_settingsDownload The Image
wget https://odroid.in/ubuntu_16.04lts/ubuntu-16.04.2-minimal-odroid-xu4-20170516.img.xz
Decompress the Image
unxz ubuntu-16.04.2-minimal-odroid-xu4-20170516.img.xz
Insert the memory and check for its path
sudo fdisk -l
Unmount the disk for good measure
sudo umount /dev/path/of/card
Copy the image using DD and sync on finish
sudo dd if=ubuntu-16.04.2-minimal-odroid-xu4-20170516.img of=/dev/path/of/card bs=1M conv=fsync && sudo sync
Add your memory to the XU4
Set your RAID Mode according to the diagram (for me it’s RAID0)
Power on the CS2 and wait a minute or two and power it off
Use Angry IP Scanner to find the IP of your CS2
SSH in and update
ssh [email protected]
password: odroid
apt-get update && apt-get upgrade && apt-get dist-upgradeCheck kernel version with
uname -r
If the kernel was held back at 4.9 run
apt-get install linux-image-xu3
rebootNow we want to install the FAN and LCD packages. So first we add the repository where we can find the software.
add-apt-repository ppa:kyle1117/ppa
Next update your sources
apt-get update
Now we install FAN software and reboot (you will have to SSH back into the ODroid again)
apt-get install odroid-cloudshell cloudshell2-fan && reboot
Install the LCD package and reboot (you will have to SSH back into the ODroid again)
apt-get install cloudshell-lcd && reboot
Now check for your disks and find path
fdisk -l
Zero out the drive and format with ext4
dd if=/dev/zero of=/dev/path/of/drive bs=512 count=1
mkfs.ext4 /dev/sdacreate a mountpoint
mkdir -p /media/hdd
Open fstab to Make the disk mount on every boot
nano /etc/fstab
add to the bottom
/dev/path/of/drive /media/hdd ext4 defaults 0 1
Create a new account called cloudshell
echo “/bin/false” >> /etc/shells
useradd cloudshell -d /media/hdd -s /bin/false
passwd cloudshell
(Set the password of cloudshell)take ownership and change permissions of the mounted drives
chown cloudshell.cloudshell –R /media/hdd/
chmod 755 -R /media/hdd/install samba
apt-get install samba
edit the smb.conf file
nano /etc/samba/smb.conf
at the top under [global] add
write cache size = 524288
getwd cache = yes
use sendfile = yes
min receivefile size = 16384
socket options = TCP_NODELAY IPTOS_LOWDELAYat the bottom add
[Shared]
comment = CloudShell-2 File Server
path = /media/hdd
guest ok = yes
browseable = yes
create mask = 0644
directory mask = 0755
read only = no
writable = yes
force user = cloudshellreboot
I had to go back and run the ownership and permissions commands again to enable writing. So to do that use the following
chown cloudshell.cloudshell –R /media/hdd/ && chmod 755 -R /media/hdd/
![Read more about the article [OLD] Play modern games on your Pi. Getting started with RetroPie and Parsec.](../wp-content/uploads/2018/08/parsecCoverV2.jpg)